Yes it's workable, but it's not for everyone. I think that you, personally (given the knowledge and experience that you demonstrate on this site), with your expectations appropriately tempered, will get along with it.
First, you want a reasonably-priced telescope which is portable. This limits you to something like the Sky-Watcher Heritage 130p (aka. AWB OneSky in North America) or maybe the recently-released 150mm version.
Another option is to buy a short refractor in the 70mm to 100mm range and put it on a (relatively) cheap mount like the Sky-Watcher AZ-GTi.
Alternatively, you could get a long lens for your DSLR and put it on a smaller tracking mount - such as the Omegon Mini Track or the Sky-Watcher Star Adventurer.
(These last two options would also require a tripod - further increasing the cost)
Whichever telescope you buy, you'll want a 'fast' focal ratio, because you want to capture as much light as possible.
Second, you'll need an adapter to connect your camera to the focuser of the telescope. This should be easy to find.
Third, you should calculate the maximum acceptable exposure time, given your camera's sensor and telescope's focal length. This is a good one which I've used before: https://www.scantips.com/lights/stars.html
Alternatively you can use the "500 rule" - divide 500 by the focal length to get the maximum number of seconds you can set your shutter speed to without stars blurring.
If this value is too low to gather enough light, then you should look into buying a focal reducer, which will have the effect of reducing the focal ratio.
Although that might be a bit tricky because the ones I know of generally come in two types: the high-quality (ie. expensive) large ones which screw on to a refractor's 2-inch (or larger) focuser, or the cheaper smaller lower-quality ones with a "C thread" which screw on to the end of an astro-camera.
Now the equipment's out of the way, you should choose your targets. You'll get best results with the brighter objects. The Orion Nebula is a great choice. The Andromeda galaxy is a bit more tricky. Jupiter is easy, but you'll want a Barlow lens (3x or 5x magnification) to be able to see details.
For a fainter object, use the maximum exposure time you calculated, and record video. If your camera offers raw video recording then choose that setting. If not then don't worry too much.
For bright objects like Jupiter, use the live view of your camera to adjust the exposure time so that you can see details, and record video.
Some stacking software can accept video files and extract the frames for you automatically as part of the stacking process. Maybe the software doesn't support the video format your camera produces, in which case the free program ffmpeg can do that for you (eg. ffmpeg -i video_file.mp4 --hide_banner output%04d.png)
For stacking I used to use the program DeepSkyStacker, which works well on Linux using Wine, and also handles objects in different positions in each frame very well. Now I use the native Linux program ASTAP, which I find gives better results, but I don't know how well it handles drifting objects.
Processing planets (and the moon) requires different software: PIPP (planetary image preprocessor) will align and crop all the frames, then use Registaxx to stack and then edit wavelets to increase detail.
After stacking then open the result in an image editor and use the levels tool to bring up the details.
This is a "quick'n'dirty" method to do it. The professionals use high-precision mounts, dedicated astrophotography and guide cameras, and pricey software like PixInsight or Astro Pixel Processor; but I'm not a professional so can't be of any help there.
Postscript. My way:
I've done this myself with my telescopes and a (relatively) cheap astrocamera.
I started with my 10" Dobsonian and bought a camera with the IMX385 sensor - known for its high sensitivity and also high framerate and USB3 interface, which allows for both faint deep sky objects and "lucky imaging" of planets.
I used the bundled software "altaircapture" and occasionally the program SharpCap. The problem (for me) with SharpCap is that it's only available for Windows and I mainly use Linux. The good thing about SharpCap is that its "live stacking" module is very good, and handles the fact that objects will drift across the view with an untracked mount.
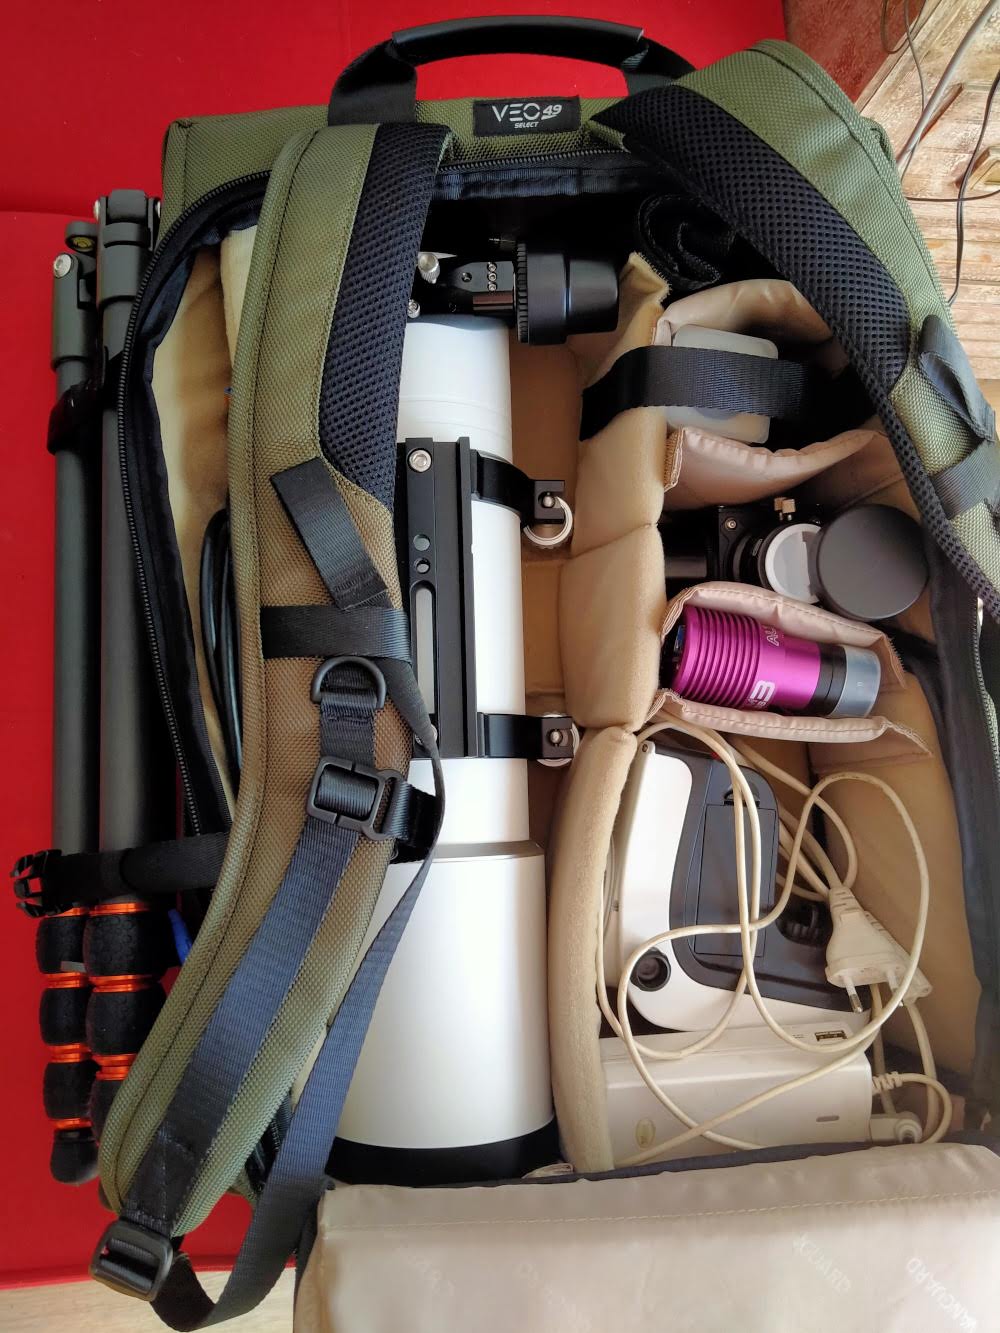
Of course, a 10" Dobsonian is a bit unwieldy and not portable on public transport, so I also have a small refractor for travelling. The aforementioned AZ-GTi mount can also be used in equatorial mode with a wedge, and this is what I use when I go abroad.
Finally, some photos:
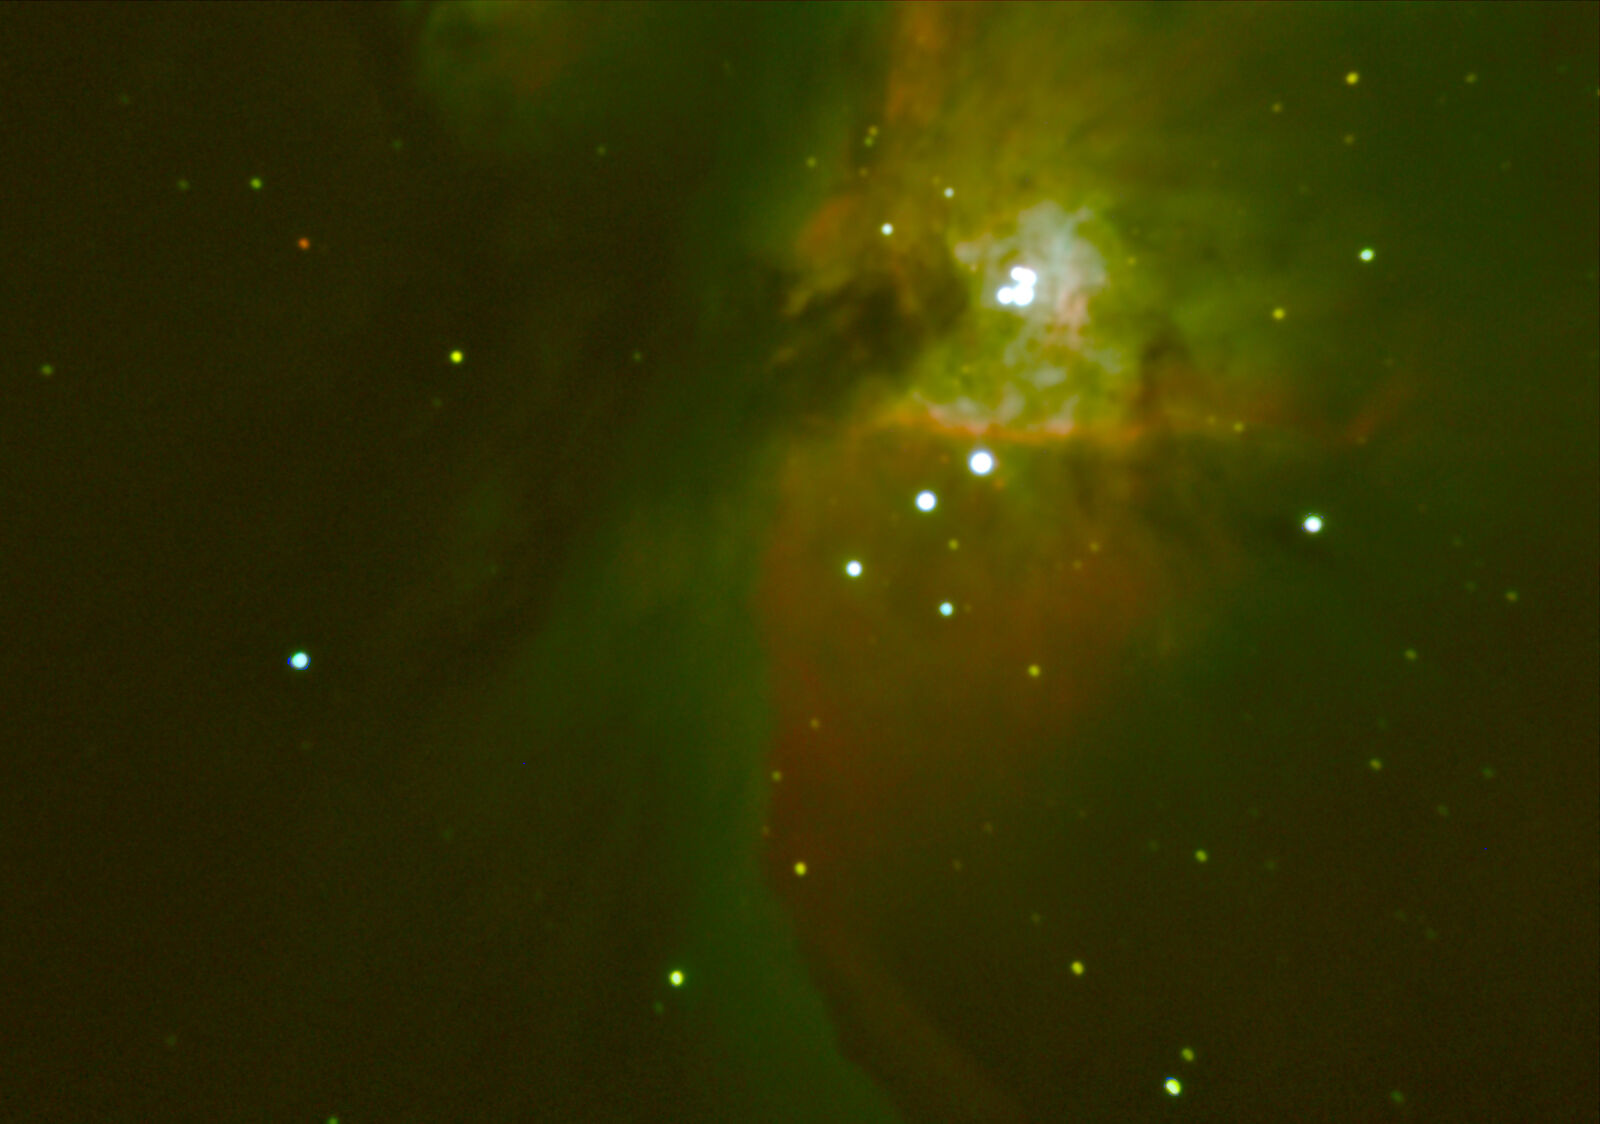
Here's M42, taken with the IMX385 camera through a 10" reflector. Recorded video with the altaircapture program, extracted frames with ffmpeg, stacked with DeepSkyStacker, and adjusted levels with GIMP:

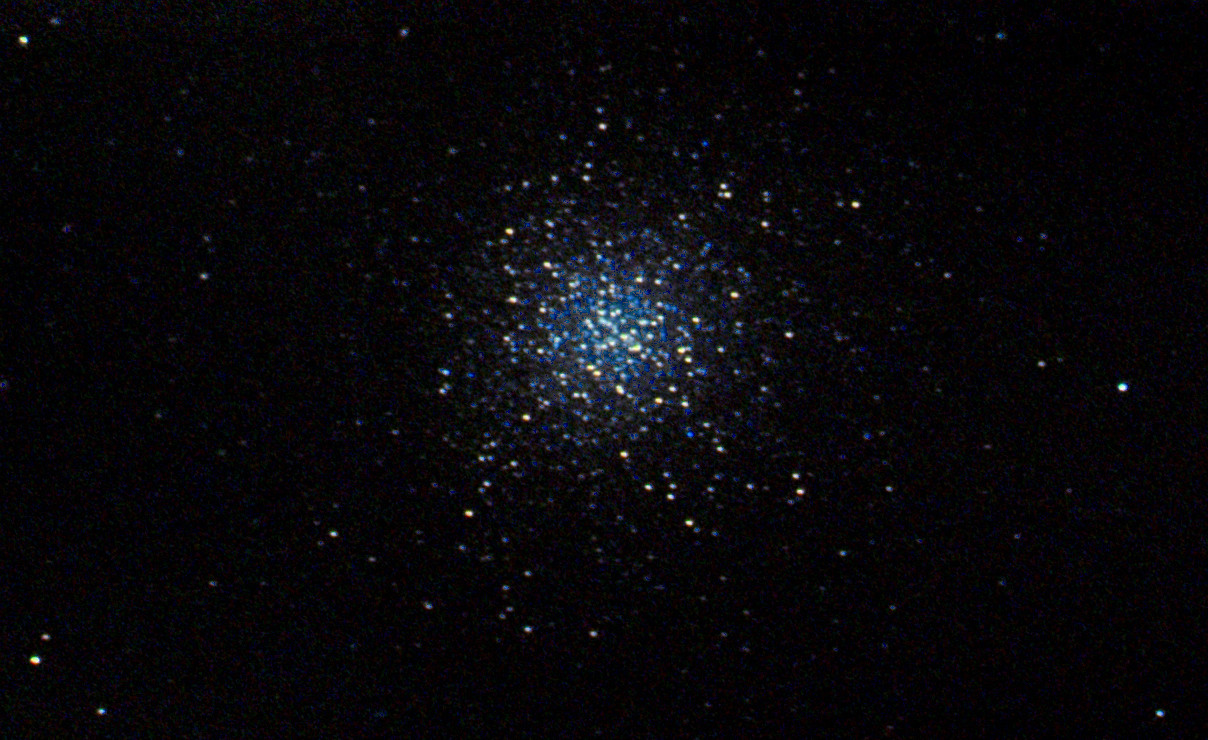
Here's M13, using the same method:

And here's my travelling telescope rucksack, packed and ready to go:

I hope this has been helpful, and I hope that if you try it out then you come back and post the fruits of your labour! :-)
Further reading:
https://www.cloudynights.com/topic/503909-static-telescope-drift-scan-imaging-works/


